Way back in ancient times, when I was getting married, I thought it would be wonderful to have custom apparel for our bridal parties (yes… guys included). But there was one huge problem with this scenario: cost. Sure custom embroidery and screen printing looks great, but there was no way I had the funds or means to do something “extra” like that as a graduate student planning a wedding.
In order to fulfill my desires, I went ahead an found a way to buy cheap shirts at wholesale prices and DIY my screenprinting, and 2 years later, people are still sporting around their t-shirts & tanks around town.


(Details on the ROSE tank tops can be found here, and the TEAM t-shirts here)
Recently, I stumbled into a couple other fun methods of making t-shirt designs: bleach & crayons! In case you’re interested, here are some more details on the process and the outcome:
1) Bleach (via a Clorox Bleach Pen)
First, I picked out a bold b/w graphic that I wanted to use: Sleeping Beauty’s Castle. But the problem was that my image was only big enough to fit on an 8×11″ sheet of paper… and I kind of wanted something a little bit bigger. In order to enlarge it quickly and easily (as opposed to chopping layers on photoshop), I used blockposters and quadrupled its size. I printed out the images on 4 pieces of vellum, and taped them together to recreate the image.
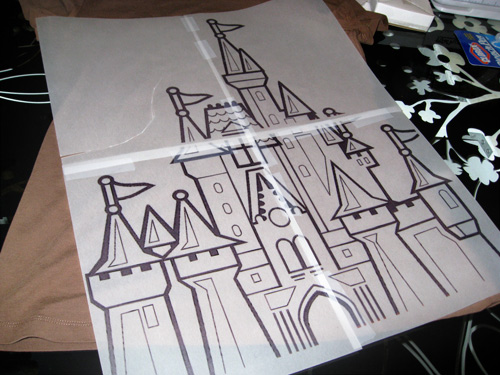
Then I quickly cut out off the excess paper (still leaving a good sized border) and taped down marking areas for where I’d like the design on the shirt. I ended up inking the design in 3-passes (top, bottom left & bottom right) so I made sure to put down good marks for where the pieces of paper needed to be laid back down.
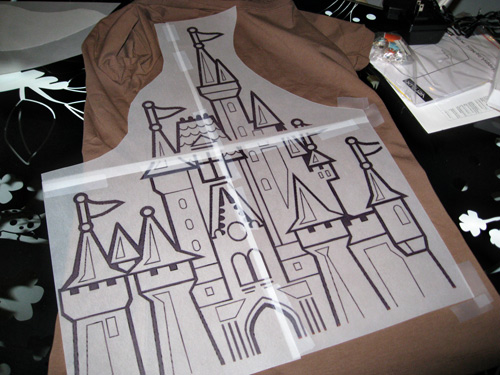
I used plastic sheets inside of the shirt to prevent any bleeding, but you can easily use magazines or cardboard as well.
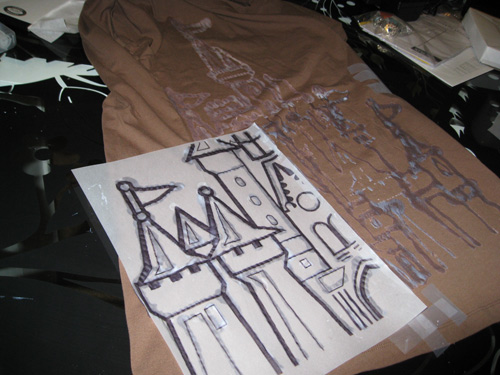
Then — I got to bleaching! For this project, I used a Clorox bleach pen (sorry for the lack of photos of “in process crafting” — the bleach was making me tear up a little bit), which you can find in your laundry soap aisle. I flipped the design over and basically just traced the lines in bleach, then laid it back down on the shirt and pressed down the vellum.
Here’s what the first pass (top half) looked like:
I went ahead and did the same thing with all three sections, and then waited for the design to dry:
I used a hair dryer to set the bleach (about 5 extra minutes of drying after I had laid down the last piece), and then rinsed out the shirt underneath the shower. Once it was rung dry, I put it in the dryer for 30 minutes to set the design up.
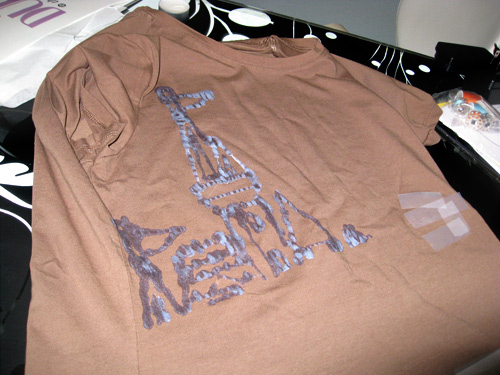
And in the end, I came out with this:

Now while it might not be instantly recognizable as Sleeping Beauty’s Castle, I think it’s a pretty fun artistic interpretation of it… thanks to bleach bleeding, air bubbles and my desire to be a bit more detailed than I should have been with the design. I was kind of operating off the cuff, since I’ve never seen anyone try and use a template to transfer the bleach. Next time around, I think I’ll invest in some stainless steel applicator tips (as recommended by Martha) to ensure more consistency with the bleech, maybe use a sheet of transparency paper instead of vellum, and leave the detail as an afterthought to fill in the design, rather than putting it on the template.
#2: CRAYON!
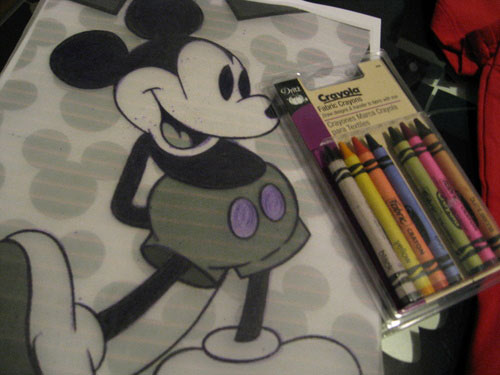
I had seen these fabric Crayola crayons in the sewing section previously, promising that you could iron any design you drew on paper onto fabric! Well, after reading some reviews online, it sounded pretty darn neat to me, so I decided to give it a whirl.
For this project, I figured a plain ‘ol Mickey Mouse design would work well. I was hoping I could wear the shirt under a cardigan/open sweatshirt, so an easy center design was best as well. I printed out this Mickey design on vellum (probably not the best thing to use, but I was short on time as far as positioning was concerned), flipped it over.
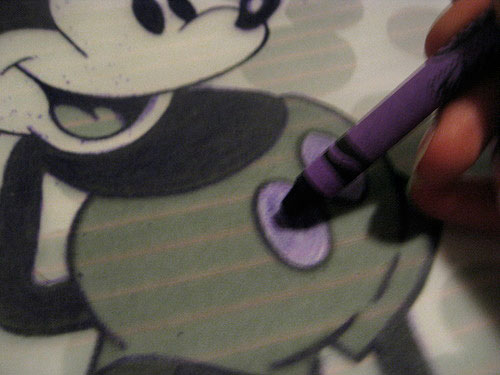
I traced the outline I wanted and then filled in the black parts with purple. Lots of crayon shavings went awry (probably due to the vellum), but I was still able to color quite heavily.
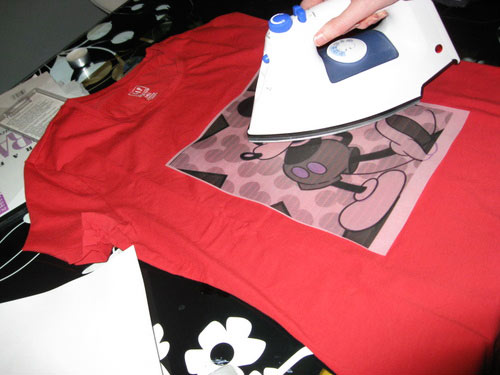
After coloring, I flipped the design over again, and ironed it down on my shirt for about a minute on the cotton setting.
When I peeled up the design, I ended up with this:
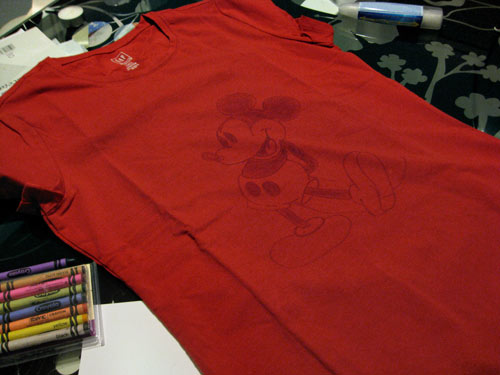
It’s definitely a very light transfer of Mickey, but I think it works out great. Kind of like a sketched out piece of artwork… but not as obvious as a screen print. The down side of this shirt is that it’s not supposed to be “dried in a dryer” — and I’m not sure if I want to test out the warning to see if it’s true or not. It would be great on a tote bag or something else that wouldn’t be washed though!!!
So hopefully you’ll get some creative ideas from these methods and be able to DIY yourself some fun wares for your VIPs. Oh… if you need those discount prices on shirts, try jiffyshirts.com or trendyblanks.com (for American Apparel).
Recent Comments