Uncategorized

  • Lemon Day Part IV: Aunt Kathi’s Perfect Bedroom

    After having our makeup done, we headed to my Aunt Kathi’s house to get dressed and ready for the big event. Her beautiful house is just around the corner from the chapel, and she graciously let us use her newly decorated bedroom for all of our staging. While I knew it had just been redone, you must believe that I had no idea how perfectly blue and gorgeous our prepping suite was for our photos!


    Michelle had a bit of trouble keeping her sash pinned, so Meagan attempted to help.


    Nope… it still needs more safety pins… so Aunt Kathi to the rescue!


    I should have brought a step ladder for the girls to stand on!


    I <3 how you can see all my girls in this photo!


    Stopping to take the first of many snapshots in the dress


    Gotta get one with mom too!


    My mom was charged with taking my ridiculously long veil to the chapel


    Just one more chance to reapply my lip trio before we leave…


    (had to insert an open mouth laugh photo somewhere!)


    “Ok girl…. you’re ready to do this!”

    For the rest of the recap:
    Part I: Beauty Shop Prepping
    Part II: MAC Attack
    Part III: The “Morning-Of” Brunch


  • Lemon Day Part III: The Morning-Of Brunch

    Part I: Beauty Shop Prepping
    Part II: MAC Attack

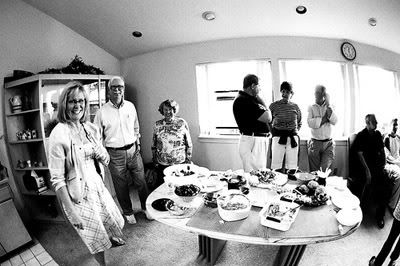
    Mr. Lemon’s family and friends came from across the country to celebrate with us, but unfortunately, most of them had to catch early flights back east on Sunday morning. So instead of a day-after brunch, his family decided to host a “morning-of” brunch at the house they rented for the week. His dad bought a few too many pastries from the landmark Carmel Bakery and the family got to catch up and relax before the big event. Lucky for us, our photographer stopped by the house (it was right up from the hair salon) to take picture of our rings, and also got to snap some shots of the party.


  • Lemon Day Part II: MAC attack

    Part I: Beauty Shop Prepping

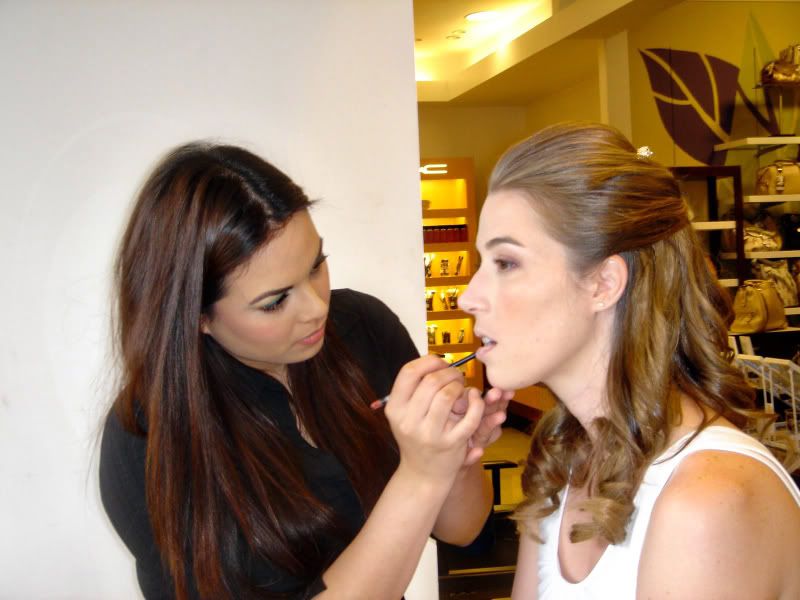
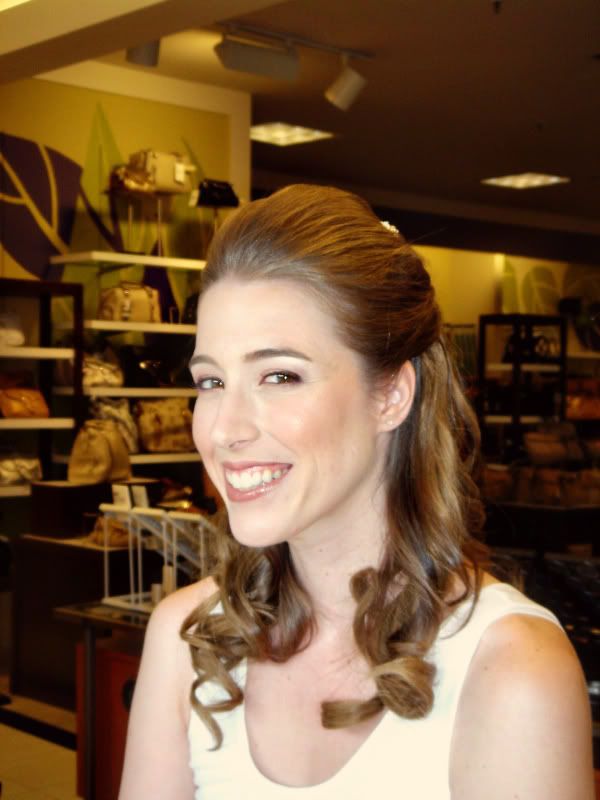
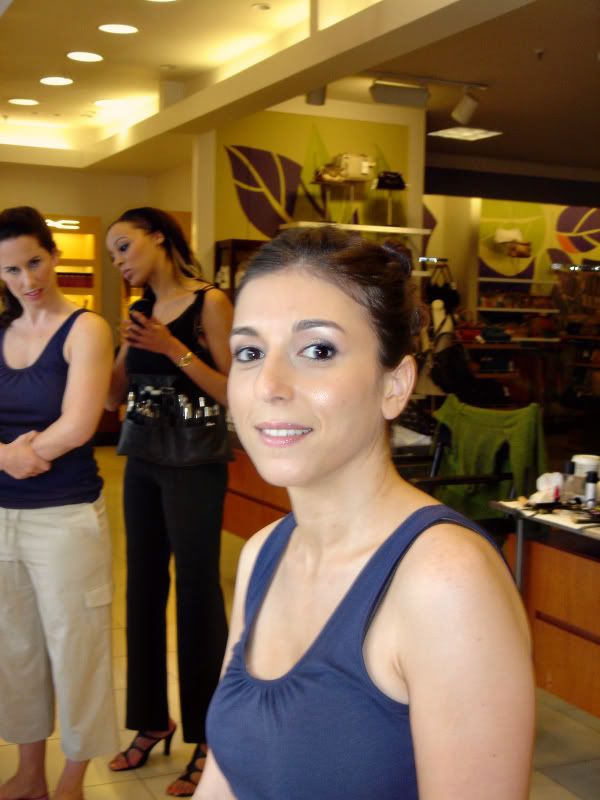
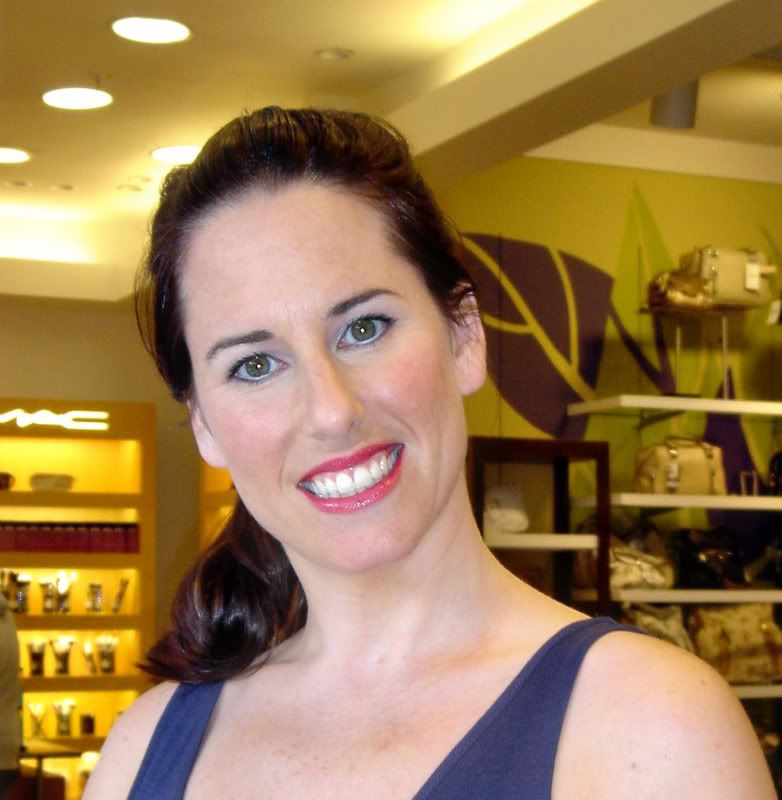
    After getting our hair curled, tucked, flattened and pinned, we headed to DMC (aka. THE MALL) to finish up our makeover time. I had set aside 6 appointments at the MAC counter at Macy’s three months earlier, which happens to have its own section of the store (not just a counter) with full natural lighting and lots of space for the artists to work. Thanks to a slow business day and lots of artists working on a Saturday, we we all done early and the girls even got a little extra shopping in while waiting for their appointment.

    I’m sure some brides may be cringing at the idea of being prepped at “the mall” on their big day, but the whole arrangement worked out perfectly for us. In the beginning, I had planned on getting my makeup done at the hair salon, but multiple makeup artists fell through. I didn’t really have a location to have someone travel to for pampering (a hotel suite, etc.), and even if I did, their prices were over the top for my maids. I had no problem spending the money on myself, but there was no way I was asking my BM to put out $85+ for a makeup application in addition to their $50 hair-do. Plus, DMC isn’t croweded or hard to get to, so we weren’t battling Saturday mall rats to get our pretty on.
    The best part: each of our makeup applications were paid for with a two item purchase! All of the girls and I bought our lipsticks and glosses, and I tossed in a liner and some sparkle powder as well. And with that… we were off to our last stop before the chapel…

    Meanwhile, Mr. Lemon’s family was starting the party early with brunch over at their Carmel compound…

  • Lemon Day Part I: Beauty Shop Prepping

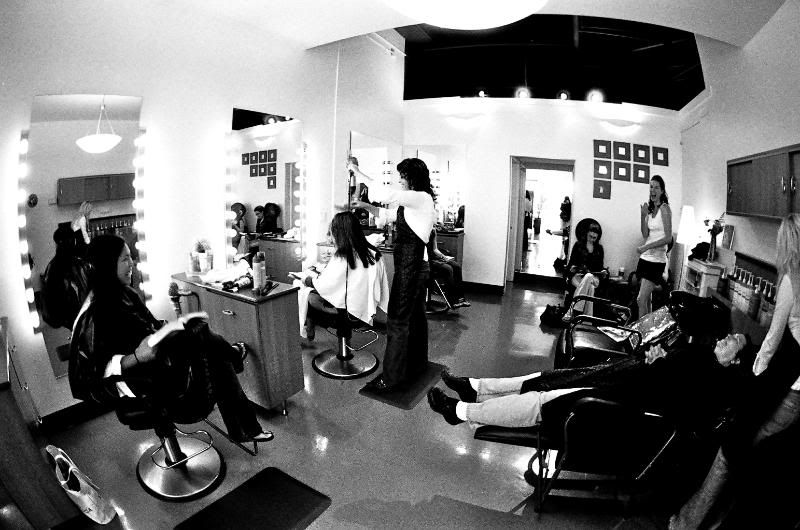
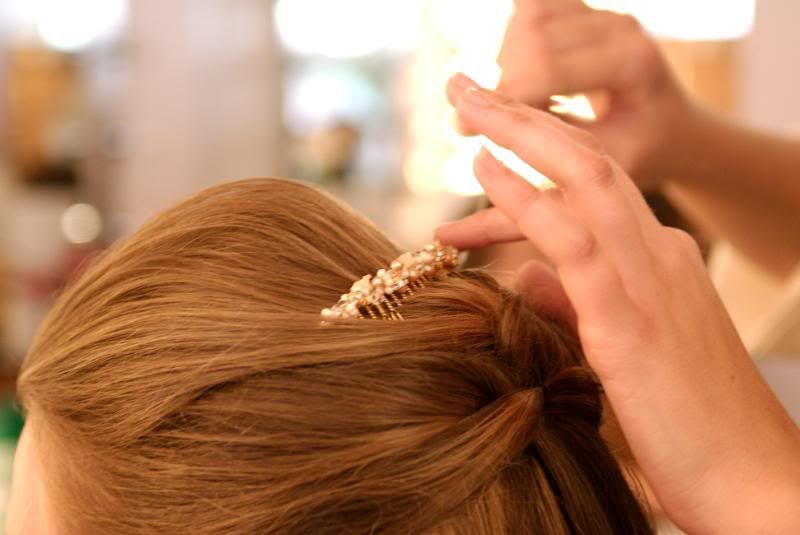
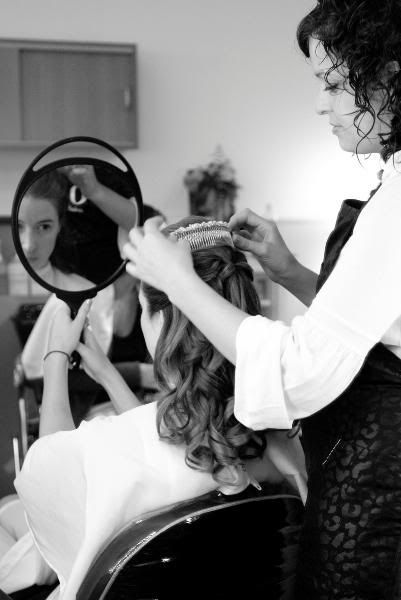
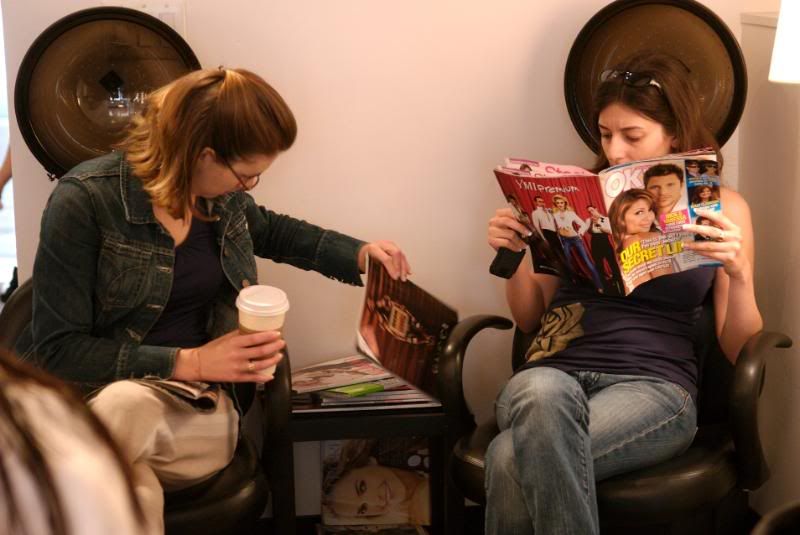
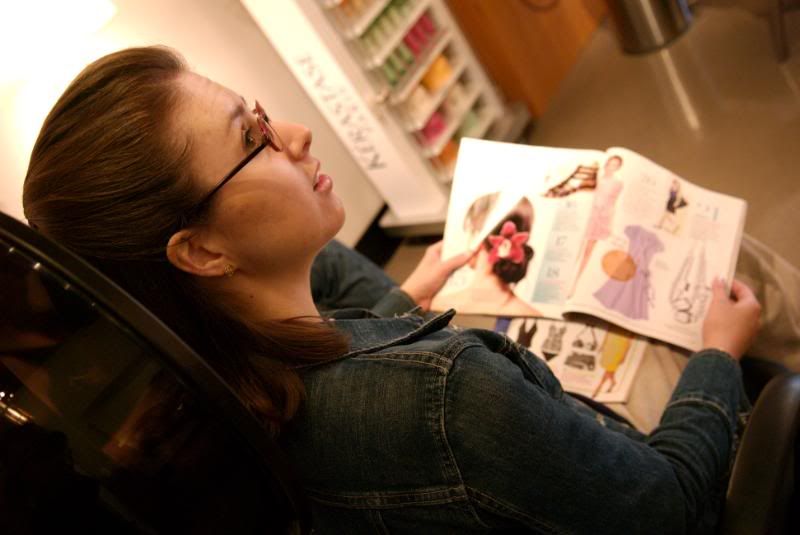
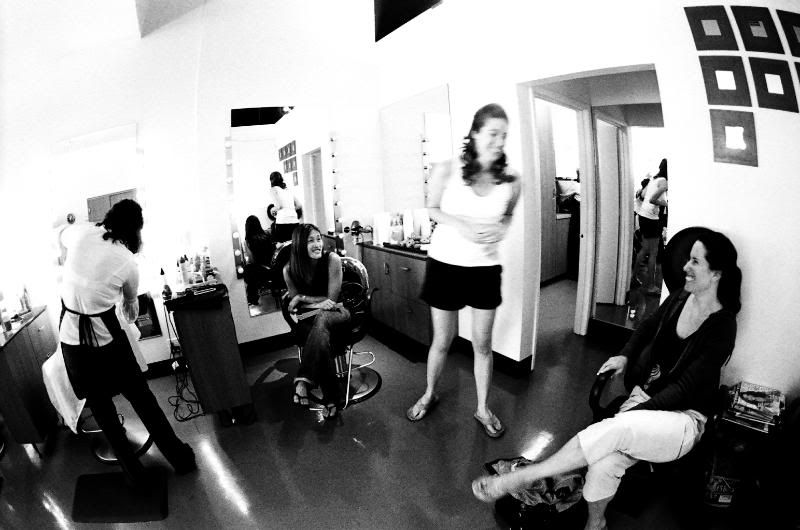
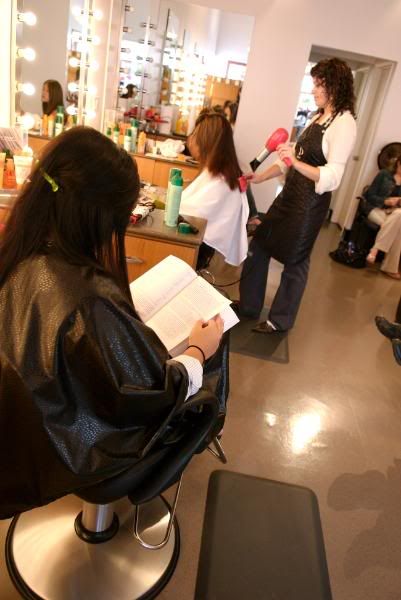
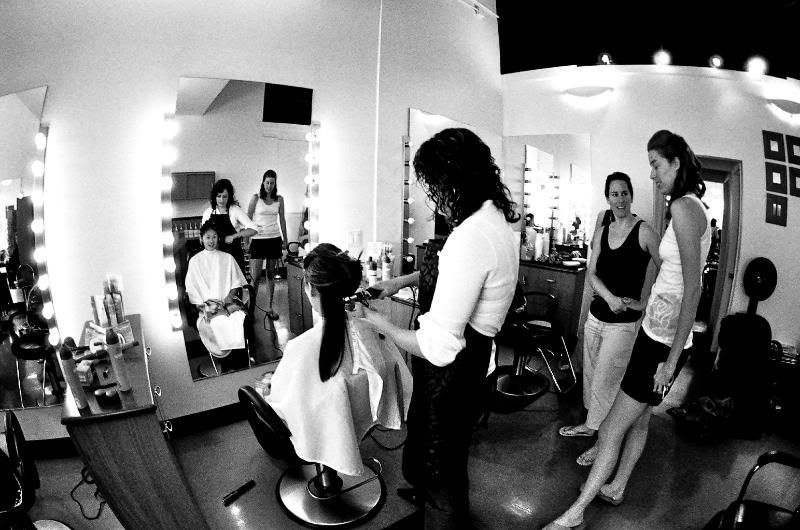
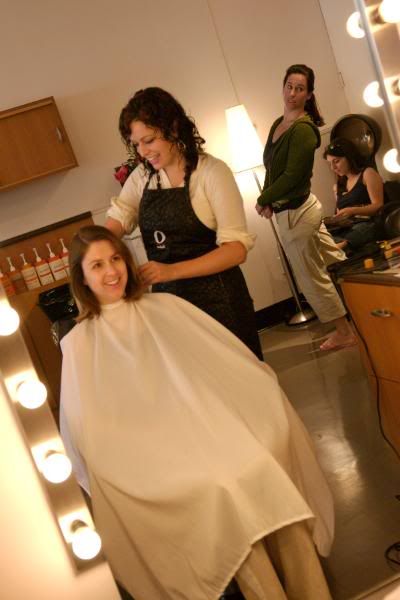
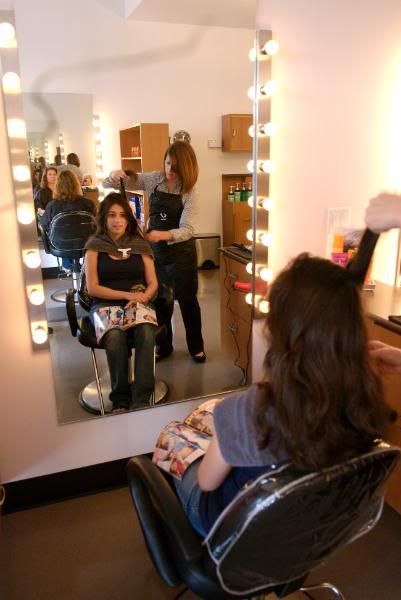
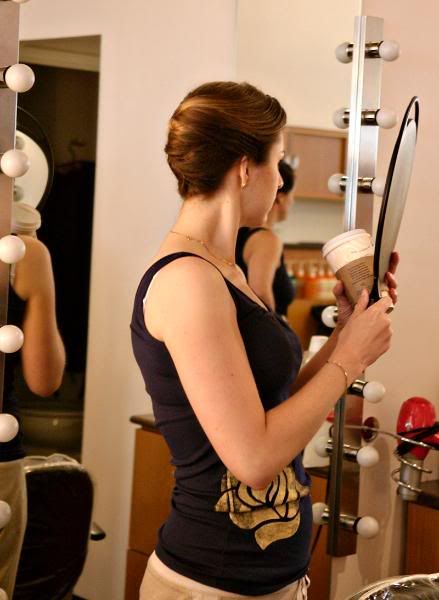
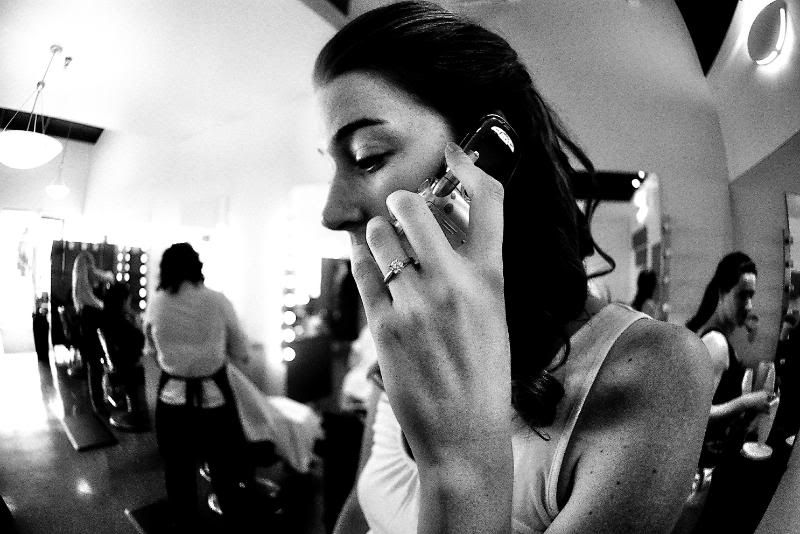
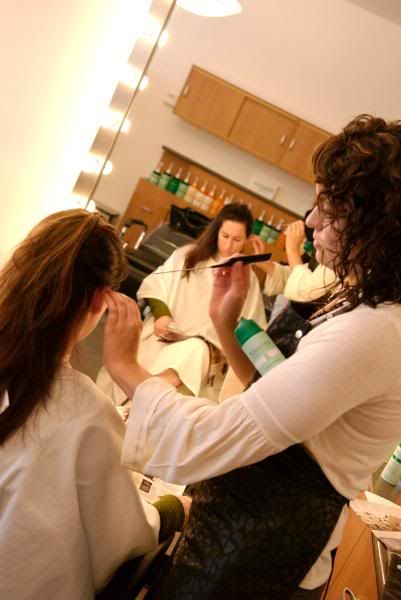
    My wedding day started out with a nice drive by myself to Carmel for a 9am hair appointment at the O Salon. I had scattered out the appointments so that the girls arrived dressed in their rose tank tops a bit later at 10 (enough time for them to wind down from the rehearsal the night before and get their coffee drinking on) and my mom had her appointment at 11:30. It worked out perfectly since no one had to rush or hurry, and with my hair done so early, I could relax and just enjoy time with my girls.

    Things couldn’t have gone smoother with our appointments, and we took our two cars to the next stop… makeup!

    Photography by Fiona Sarn

  • Vintage Blue


    I’ve been fielding lots of questions about the color of my bridesmaid dresses, so before I gave all my vendor reviews, I thought I’d clear up the issue. They’re vintage blue and they were part of J. Crew’s fall/early winter ’06 collection. One of the drawbacks to loving someone’s colors from J. Crew is that unless it’s black or navy, you may never see it again. However, right now, J. Crew has brought back the color for their current collection, but this time it’s in silk! (Our dresses were cotton cady)

    These dresses are even a bit cheaper ($165) than the original prices of ours ($225-260)!

      
    [Silly bridesmaids are not included]

  • Honeymoon in Leather

    I took lots of snapshots with my trusty little (so little it fits in an Altoids box!) Optio S camera on our honeymoon, and wanted to turn the memories into some sort of memento. Since my camera is old and only 3 MP, the photos coming out of it aren’t perfect for photobooks, but they aren’t horrible either. I’ve printed hard and soft cover books using MyPublisher and PhotoWorks, so when I happened upon a coupoon for a free large-size leather photobook from Picaboo, I thought I’d take them up on the offer!

    I made the book in a little over an hour using their huge selection of layouts and scrapbook background pages. It arrived via UPS today, and I’m really happy with the quality of the book! The pages are thick and crisp (a bit heavier than MyPublisher), the full page bleeds are quite nice, and the navy leather cover is a nice added touch. I can definitely say that it was worth the $13 (tax and s&h) that I paid!


    If you’d like to take advantage of the special offer, just enter code 1PFLGB-BBC at checkout and a $39.99 credit will be added to your order.

  • Messages from “Special” Friends

    In the spirit of Mrs Snow Pea’s post today, here are a couple photos of the special mementos that our friends sent:

    Mickey and Minnie sent an autographed photo and a “Just Married” button. As for other Disney characters entertaining your autographed
    requests… I would say with some inside knowledge that the only way to
    get that special note would be in person at one of their many holiday
    destinations. The address for correspondence only goes to their Studio work offices, and sadly none of the other characters work out of Burbank. However… if you REALLY need a note from Goofy, I might be able to help you out.

    Mickey and Minnie Mouse
    The Walt Disney Company
    500 South Buena Vista Street
    Burbank, California 91521

     
    The Governator sent us a note of congratulations as well… I still can’t believe his signature is going to be on my newest diploma.

    [for CA residents]
    The Governor & Mrs. Arnold Schwarzenegger
    State Capitol Building
    Sacramento, California 95814

    We have yet to receive a response from the Pope, and due to our relocation, I’m not sure we ever will. The Queen of England did respond, however, but due to our non-British citzenship, we were denied any sort of congratulations from her highness. Her lady in waiting did write a nice note back however! It was fun to add these special RSVPs to the mix of gold envelopes… and it was well worth the price of a stamp, an extra invitation card & RSVP envelope.

  • How to create a mood/inspiration board II: The Photoshop Way

    Part I: How to create a mood/inspiration board: The superEASY way

    Now you’ve seen the super easy way, but if that doesn’t fit your needs and you’d like to be a bit more creative, then here’s a little tutorial with some tips and tricks to help you create your mood/inspiration board in Photoshop or Photoshop Elements (And if you don’t have Photoshop, download GimpShop! for free).

    Before you start take a pencil to paper and plan out what you’d like your collage to look like. Photoshop and other illustration tools are only helpful when you already know what you want them to do… and they can become mighty frustrating when you’re trying to imagine with your mouse. Have some examples on hand and or sketch out your ideas and get ready to replicate them!

    Step 1. Choose File > New to create a new blank image. Specify image size based on the desired file size outcome. I’d recommend a width of 400 – 600 pixels, and whatever height you’d like.

    Step 2. To help you align your images, go to the View menu and select View > Rulers, View > Extras, View > Show > Grid and View > Show > Smart Guides. Then, double click on the ruler above the new image and make sure the units for the ruler is Pixels. Select next and in the Grid box, change the “Gridline every _____” box to either 50 or 100 or another unit that will help you divide and align your workspace.

    Step 3. Choose File > Open, and open the first image (Image 1) to be added to the collage image. You now have the collage image and the first image (Image 1) open at the same time.

    Step 4. Select the Move tool. Click anywhere within Image 1, drag from the Image 1 window to the collage image window, and release the mouse button. Image 1 displays in the collage image window. Note that Image 1 is on a new layer, called Layer 1.

    Step 5. Double-click the words Layer 1 in the Layers palette, and rename Layer 1 so that you can keep track of your layers.

    Step 6. Close the Image 1 window so that only the collage image is open. Your Layers palette now contains a Background layer and the new layer that you renamed.

    After you add your first image to the collage image, open the next image to be added. Repeat steps 3 through 6 to add all your images to the collage image.

    To resize, reposition, and rotate the images or layers in the collage:

    1. In the Layers Palette, click once on the layer that you want to adjust, to target the layer.

    2. Choose Edit > Free Transform (Photoshop) or Image > Transform > Free Transform (Photoshop Elements).

    Note: Before you transform your layer, make sure the correct layer is targeted in the Layers palette.

    3. Note the bounding box around the edges of the layer and the anchor points on all four corners and sides (eight total).

    – Resize the layer by dragging the anchor points.

    – Reposition the layer by clicking inside the bounding box and dragging.

    Note: If a layer displays larger than the collage image, drag the layer in any direction until you can see a corner of the image. You can then transform the image using the anchor point on the visible corner.

    – Rotate the layer by positioning your cursor just outside the bounding box, clicking, and dragging. You can rotate the layer when your cursor changes to a curved double-headed arrow.

    4. In the option bar at the top of the screen, either click the check box to accept or commit the transformation or click the circle with the slash through it to cancel the transformation.

    Repeat steps 1 through 4 to resize, reposition, and rotate each of the other layers in the image.

    To rearrange the stacking order of the layers:

    To change stacking order of the layers or the way the layers overlap, drag any layer in the Layers palette above or below another layer.

    To add seperating lines to your collage:

    Click on Layer > New > Layer and rename the layer “LINES.” Select the line tool and the color you’d like for your lines. You can change the weight of your line at the top of the screen as well. Shift-click and drag your cursor to create a straight line where you’d like it. Don’t worry too much about placement, as you can always select the move tool and drag the lines to exactly where you’d like them.

    Save your Image as a *.PSD for editing later, and then as a *.JPG for general use online, etc.

    Now feel free to add text and other flourishes to your collage and make your inspiration board truly yours! Or… if you’re like me, you can just print out all of your inspirations and piece it together on a bulletin board in ‘old school style.’

    (directions ammended from Adobe.com Support TechNotes: http://kb.adobe.com/selfservice/viewContent.do?externalId=332336)

  • How to create a mood/inspiration board I: The superEASY way

    So… you want to make a mood/inspiration board, eh? Well, hopefully I can help you out with that task with some guided instructions on how to piece together your masterpiece in either Photoshop (or GimpShop — the free graphics editor) or using some quick online tools. I’m not sure if my instructions will be the best ones out there… but according to google searches by tireless bee’s, they might be the only ones around the web.
    The superEasy Way

    If you’d like to make a simple mosaic of your inspiration images, then you can use MosaicMaker. You have the option of using the URL of your image from another source (Flickr, Photobucket, etc.) or you can create a free membership on their site and then upload them for the mosaic. Once you’ve picked out your photos you can easily transform your photos into the following formats:

    a) Square tiles

    Any combination of tiles that you can think of (2×2, 3×4, 5×4, etc) with a maximum of 36 squares.

    b) 4×4 with large center

    Spots for 13 of your favorite images… with one dominating the scene

    You can also change the background color and the border color, and increase/decrease the spacing between the photos with a simple click.

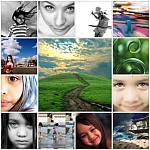
    Here are a couple of mosaics that I whipped up in 5 minutes from my directory of inspirational images:

    Now that’s the superEasy way
    to transform your inspirational images into an actual board… up next
    is a short tutorial on how to use Photoshop to make a more dynamic
    board using layers!

  • Once all the photos are there…

    There were some lingering questions over my last Flickr post, so I thought I’d help everyone out by putting the answers all in one spot!

    1) How can you download all of the photos from Flickr??

    While downloading individual photos from the galleries is quite easy, it would be insane to try and download everything that has been uploaded by your guests that way! Enter FlickrDown and your world just became incredibly easy! Simply authorize your account to use the program, select the photo sets you’d like or just “Select All Photos” and select the folder on your computer you’d like the photos to go into! Your photos will start downloading (even the ones you’ve set to “private” online) and they’ll all be on your hard drive.

    2) Did you give everyone access to your private Flickr account?

    Well, yes… and no. You see, we started the account specifically for the wedding… in fact the login name and password were specifically created to be really easy for our guests to remember. We printed it out on the biz cards, and in a couple of months, we’ll change the password and it’ll be our own little account for every year that we pay for it.

    3) Why didn’t you use (insert commercial printing company here) instead? Isn’t that easier to order prints?

    I specifically chose to use Flickr because I didn’t want to be confined to only getting their photos back as prints. Instead, I wanted to be able to digitally manipulate them, use them in a digital photo book (ie. Blurb), burn them to CD for archival purposes AND be able to make prints with any photo studio I’d like. Some people upload and order all of their photos from Kodak, Shutterfly, SonyImageStation, etc., and therefore directing people to those sites is just fine. However, I print almost all of my photos exclusively in albums now, and if I make prints I use a pro lab like Adorama.

    4) How do you set the photos to “private” ? Won’t everyone who logs in from your wedding be able to see them?

    You won’t be able to hide any of the photos from the people who login using your account information. That’s just sort of impossible to do when you’re sharing an account. Yet, you can set the images to “private” which will hide them from everyone who isn’t logged into your account at that time. From the ORGANIZE menu, simply use the ‘batch edit’ function to ‘change the permissions’ and set the images in those sets to private. You can put the same photos in multiple sets… so in my account each photo actually shows up in 2 sets: one is the set that the person uploaded the photos into, and the other is the set I designated the photo to go into.

    Hopefully this helps everyone who is looking for an easier way to collect photos from people!